Photographing glassware is one of the hardest challenges in product photography. Glass is transparent, reflects every light source in the room, creates unwanted glare, and practically disappears on a white background. That is why bottles, perfume flacons, wine glasses, and glass cosmetic packaging demand a completely different approach than a standard packshot.
At marszalstudio we photograph glass products every week - perfumes, spirits, cosmetics in glass containers, vases, and tableware. In this guide we share the exact techniques we use daily: lighting setups, product preparation, common mistakes and how to fix them, plus post-production tips. No fluff - just actionable advice from a working product photography studio.
Why photographing glassware is so difficult
Glass has three optical properties that make it a nightmare for photographers:
- Transparency - glass has no colour of its own. It simply transmits whatever is behind and beside it, so on a white background it effectively vanishes
- Reflection - every light source, your camera, the tripod, even you - all reflect in the glass surface. A single bare bulb can ruin an otherwise perfect shot
- Refraction - light bends as it passes through glass, producing caustics (bright spots) and distorted backgrounds that are hard to control
This is why the standard "softbox in front" approach fails completely with glass. When photographing glassware you need to think in reverse - instead of lighting the product, you light the background and the edges. The glass then "draws itself" through transmitted and reflected light.
Understanding these three properties is the foundation. Once you accept that glass is not a surface to illuminate but a medium to control, every technique in this guide will make intuitive sense.
Lighting techniques for photographing glassware
Lighting is the single most important factor in glass product photography. Without the right setup, no camera body or lens will save you. Here are the three core techniques we rely on at marszalstudio.
Backlighting - the core of glass photography
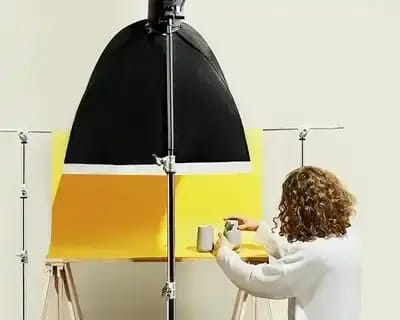
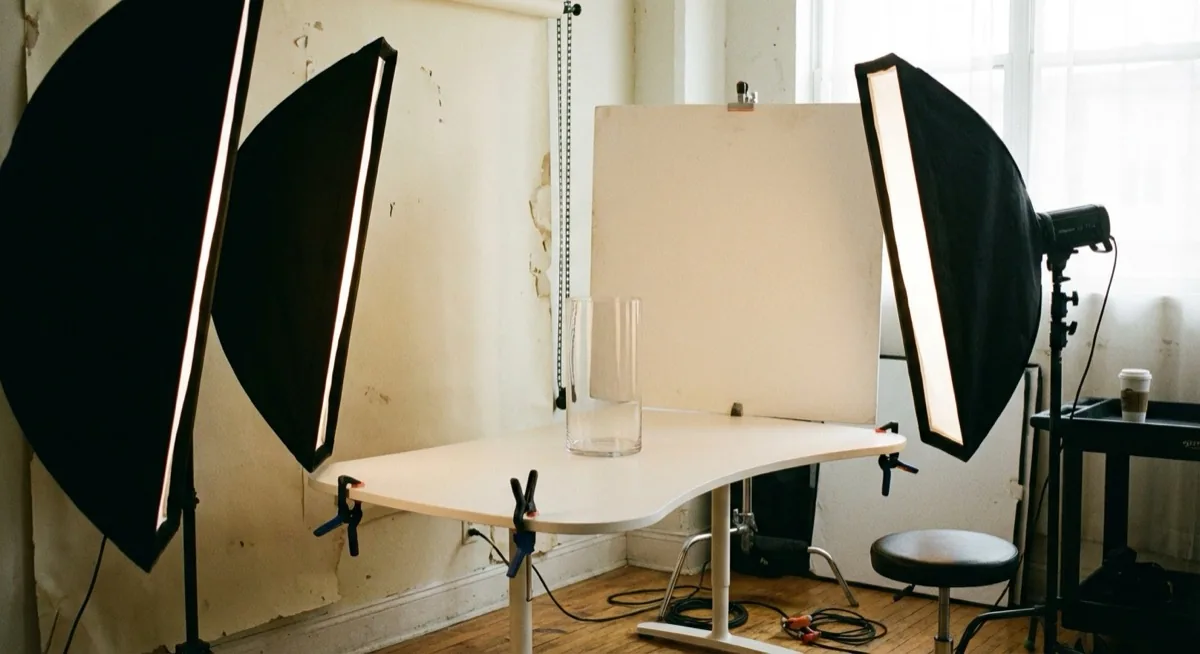
Backlighting is the single most important technique for photographing glassware. Place a large light source directly behind the product - a softbox, an LED panel, or simply a white acrylic sheet lit from behind. The light passes through the glass, illuminates any liquid inside (perfume, spirits, oil), and creates a beautiful "glowing from within" effect.
Setup: A softbox behind the product spanning the full width of the frame. The product sits on a transparent acrylic surface. The camera is in front. Zero frontal light - backlight only. For bottles containing dark liquids (wine, whisky), this is the only reliable way to reveal the colour of the liquid.
Rim light - defining edges on dark backgrounds
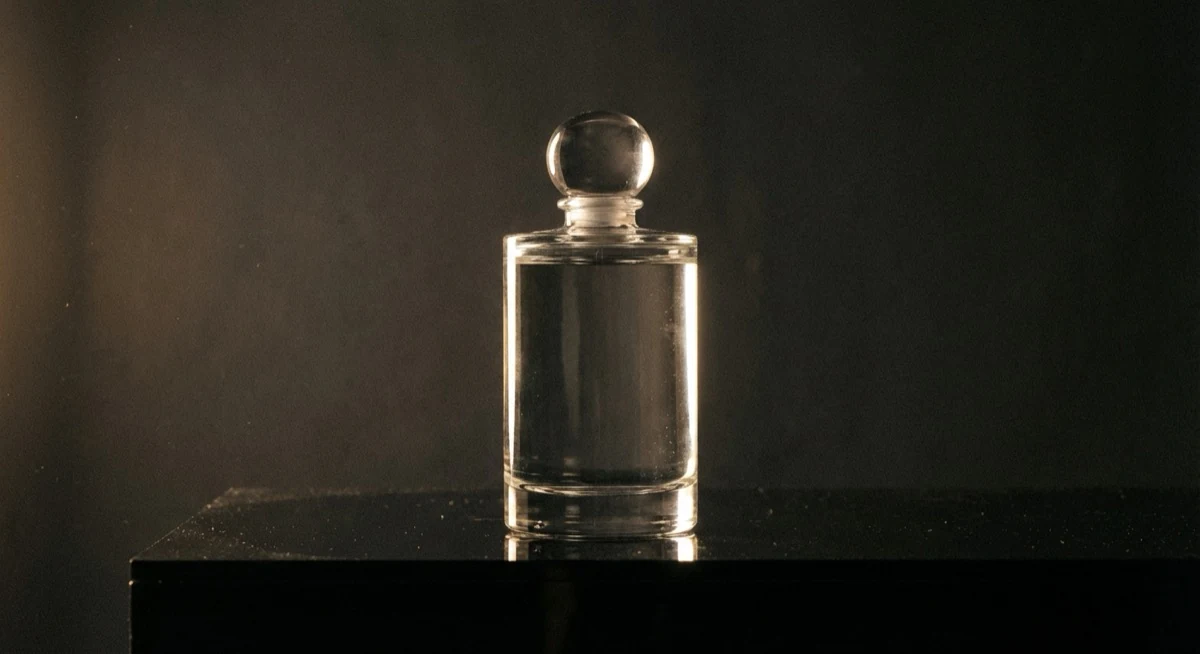
Two narrow strip softboxes positioned on either side of the product, slightly behind it (at roughly 45 degrees from the rear). They create bright lines along the edges of the glass - the so-called rim light that defines the shape of the bottle against a dark background. Without rim light, a glass product on a black background is invisible.
Setup: Two strip softboxes (30 x 120 cm) on either side, a black background behind the product, zero frontal light. The result: the bottle "drawn" in light along its edges - a dramatic, premium look that works brilliantly for luxury spirits and high-end cosmetics.
The thickness of the rim light depends on the angle and size of your strip boxes. Moving them further behind the product creates thinner, more refined lines. Moving them more to the side broadens the highlights.
Combining backlight and rim light
The best option for most glass product shots. Backlight illuminates the interior and any liquid, while rim light defines the edges and shape. Three light sources: a softbox behind the product plus two strips on the sides. This is the setup we use for roughly 90% of our glass product photography at marszalstudio.
The ratio between backlight and rim light determines the mood. More backlight creates an airy, commercial feel. More rim light pushes the image toward a darker, moodier aesthetic. Start with equal power and adjust from there.
Diffusion - the key to clean glass images
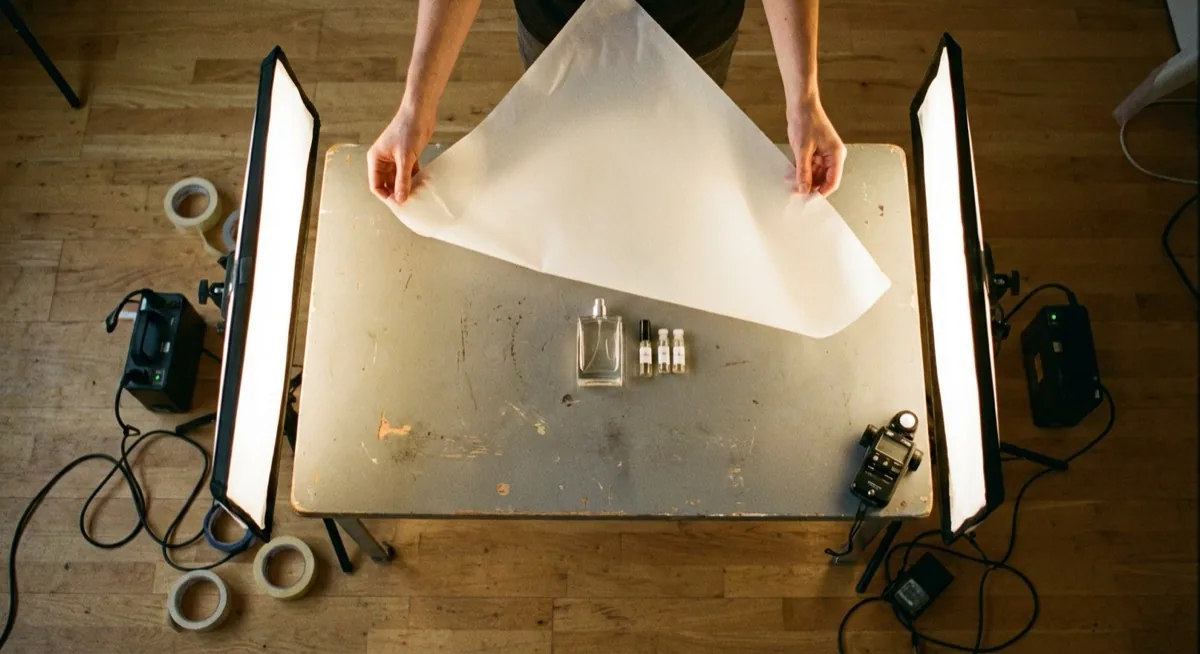
Between the light and the product you must always place a diffuser - tracing paper, a frosted acrylic panel, or a large softbox. Hard light hitting glass creates sharp, ugly specular highlights. Soft, diffused light produces clean, smooth transitions. The larger the diffuser (and the closer to the product), the better the result.
In practice, the softbox itself acts as a diffuser. But if you are using bare strobes or LED panels, add at least one layer of diffusion material. Some photographers stack two layers of tracing paper for ultra-soft results - especially effective when photographing glassware with curved surfaces like wine glasses or rounded perfume bottles.
Camera settings for glass product photography
Glass photography is less about the camera and more about the light, but certain settings make a measurable difference:
- Aperture f/8 to f/16 - you need sufficient depth of field to keep the entire bottle sharp from front label to back edge. For flat products like glass plates, f/8 is fine. For deep bottles, go to f/11 or f/14
- ISO 100 - always the base ISO. Glass images are often cropped tight, and noise shows immediately on smooth, transparent surfaces
- Shutter speed 1/125s to 1/200s - with strobes, this is standard. With continuous LED panels, use a tripod and go slower if needed
- Focal length 85-100mm - a short telephoto compresses perspective slightly and - critically - keeps you far enough from the product to avoid reflecting in it
- Manual focus or focus stacking - autofocus can struggle with transparent subjects. Switch to manual and use live view magnification. For close-ups of perfume bottles, focus stacking delivers razor-sharp results front to back
White balance: Set it manually or shoot in RAW (ideally both). Glass transmits and bends ambient colour, so auto white balance can shift between frames - especially with coloured liquids inside.
Preparing glass products for a photoshoot
Preparation accounts for at least half of the final result. On glass, every fingerprint, dust particle, and smudge is visible - and at high resolution, it is glaringly obvious.
- Cotton gloves - wear them from the moment you unbox the product until the session ends. Never touch glass with bare hands
- Cleaning - microfibre cloth plus a streak-free glass cleaner. For stubborn marks, use isopropyl alcohol. Clean immediately before shooting, not earlier - dust settles fast
- Back label - peel it off or rotate the bottle. A back label showing through the liquid is a classic amateur mistake that ruins backlit shots
- Tax stamps and barcodes - remove or cover them. Soak in warm water for five minutes, then peel with tweezers
- Air bubbles - common in liquids after transport. Spirits bottles should rest for 24 hours before shooting. Perfumes - gently invert once and set upright
- Condensation drops - for a "cold bottle" effect, mist with a glycerin-water mix (3:1 ratio). It holds for hours, unlike plain water which evaporates in minutes under studio lights
Pro tip: Keep a small air blower (the kind used for sensor cleaning) on set. Between shots, a quick puff removes any dust that has settled on the glass without the risk of adding fingerprints.
How to photograph glass bottles - step by step
Bottles with clear liquid (vodka, gin, perfume)
Backlighting is mandatory - it illuminates the liquid and showcases its clarity. Place a softbox behind the bottle, then add black cards on either side (on the camera side) to create dark "strips" on the glass edges. These dark lines contrast with the bright interior and define the bottle's shape. This technique is called dark-field lighting and it is the gold standard for clear glass product photography.
For gin or vodka with botanicals visible inside, increase the backlight power slightly to ensure those details read clearly. A small white reflector card angled toward the label provides just enough fill to make text legible without killing the backlit effect.
Bottles with dark liquid (wine, whisky, olive oil)
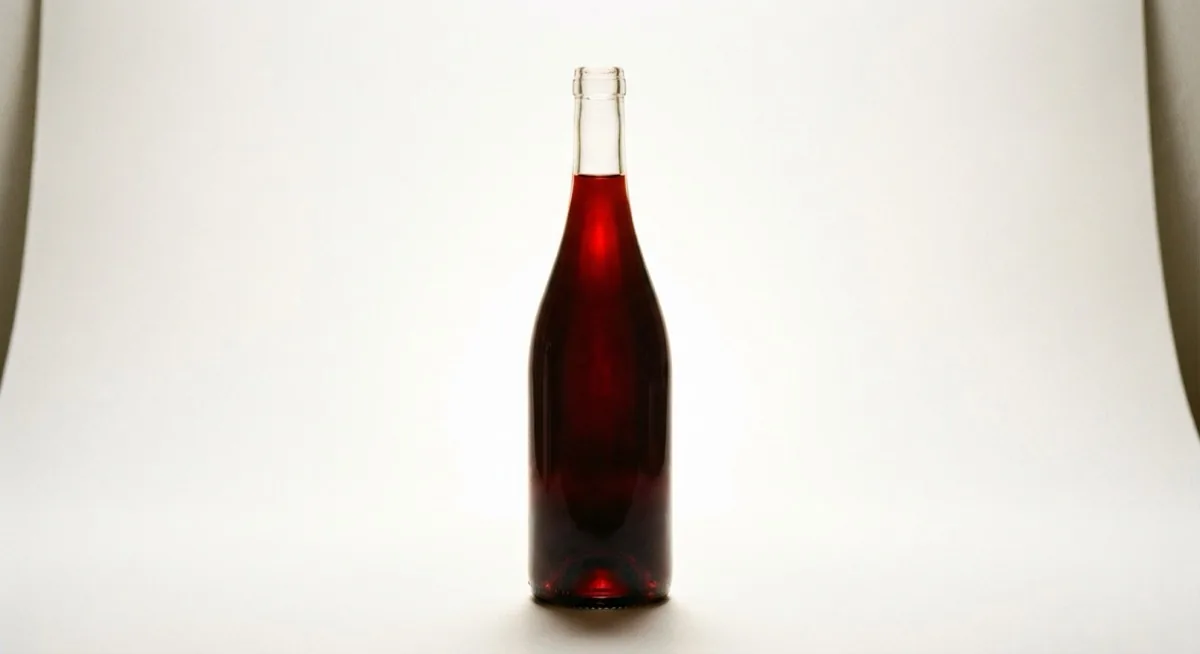
The backlight needs to be significantly stronger here because dark liquid absorbs light. Use two lights behind the product or a single powerful softbox at higher output. The colour of the liquid is the hero - the ruby red of wine, the amber of whisky, the deep green of olive oil. Backlighting is the only way to reveal those colours. Add a gentle front fill (a white card bouncing ambient light) so the label is readable.
Perfume bottles - glass, metal, and liquid combined
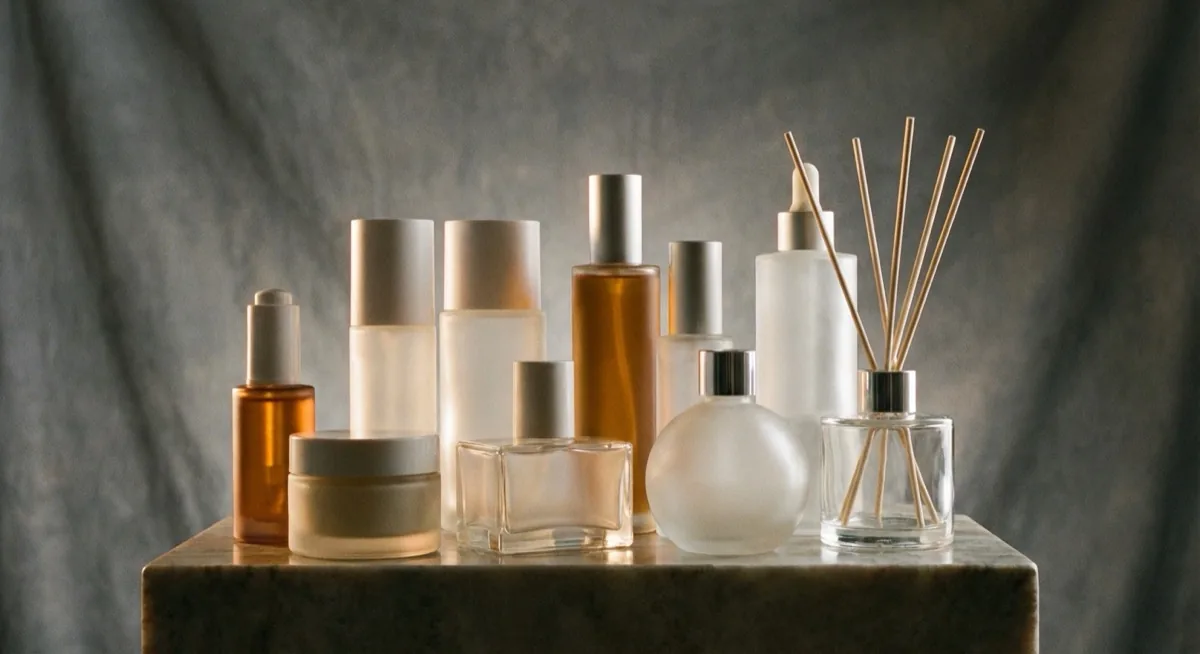
Perfume photography is a triple challenge: a glass flacon, a metallic atomiser, and a coloured liquid. Setup: backlight for the liquid, rim light for the glass edges, and a small reflector (a mirror or aluminium foil) aimed at the metal atomiser so it does not appear dull grey. Use an aperture of f/11 to f/16 for depth of field. For macro-level close-ups, focus stacking is essential.
The cap is often the trickiest element. Matte-finish caps absorb light and look flat, while glossy caps create distracting specular highlights. A strip of white tape on the inside of a black card - positioned just off-frame - creates a controlled, elegant reflection stripe on glossy caps.
Wine glasses and glassware
Empty glasses look best on a dark background with rim light - it defines their elegant shape. Glasses filled with wine need backlight plus a dark background plus rim light on the sides. Glass bowls and dishes are treated like a standard packshot, but swap the frontal light for a diffused backlight.
For stemware, pay special attention to the foot and stem. A small reflector placed low and angled upward adds a subtle highlight to the base that grounds the glass in the frame and prevents it from looking like it is floating.
Choosing a background for glass photography
| Background | Effect on glass | Best for |
|---|---|---|
| White (high key) | Transparent glass "vanishes" - you need dark edge strips to define shape | E-commerce, clean packshots, light-coloured perfumes |
| Black (low key) | Glass becomes visible through rim light - dramatic, luxurious feel | Premium spirits, luxury perfumes, advertising campaigns |
| Grey gradient | Natural, elegant, easy to achieve in-camera | Cosmetics, tableware, versatile all-purpose option |
| Coloured / styled | Sets mood, reinforces branding, tells a lifestyle story | Social media, catalogues, lookbooks |
Pro tip: On a white background, use the dark-field technique - place black cards on either side of the product (on the camera side) to create dark strips on the glass edges. Without this, the glass is invisible against white. On a black background, reverse the logic: white reflector cards on the sides create bright edge highlights.
A grey gradient is the easiest to create. Light the white background unevenly - stronger on one side, weaker on the other - and you get a natural gradient without any post-processing. This works beautifully for still life photography setups where the glass is part of a broader composition.
Common problems when photographing glassware and how to fix them
Camera and photographer reflected in the glass
The most common complaint. Solutions: shoot from a greater distance using a telephoto lens (85-100mm), cut a hole in a large black card for the lens (the rest of the card blocks your reflection), wear all black, and switch off your laptop screen. In post-production, the clone stamp or healing brush takes care of any remaining reflections.
Hot spots - bright flares on the glass
Sharp white patches caused by direct, undiffused light hitting the glass. The fix: a larger diffuser, positioned closer to the product. Never aim a bare light directly at glass. If the hot spot is on a metallic cap, dulling spray (available from photography suppliers) or a small piece of matte putty in the colour of the metal can eliminate it. Some photographers use a tiny amount of beeswax rubbed onto the cap surface.
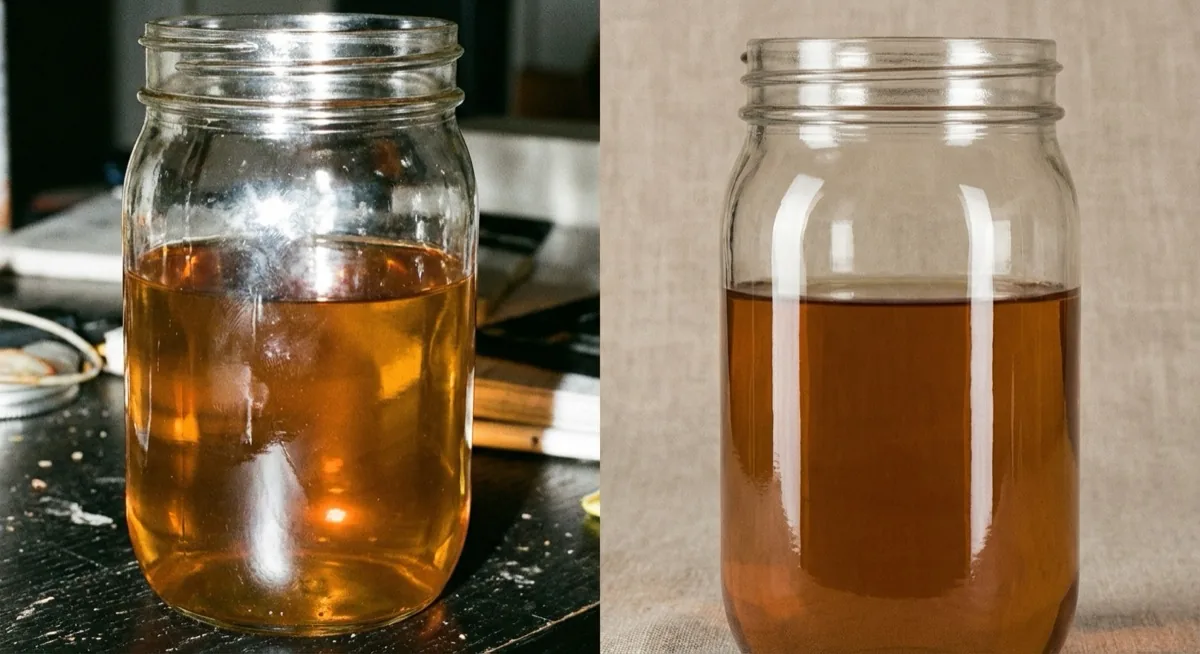
Unwanted colour casts
Glass transmits and refracts ambient colour. A green wall across the studio, a red shirt, even a warm-toned wooden table can introduce colour casts into the glass. Solution: control your environment. Use neutral grey or black surroundings. Shoot in RAW and correct white balance in post. For critical colour accuracy (e.g., photographing coloured glass cosmetic packaging), include a grey card in a reference shot.
Polarising filter - when to use it
A circular polarising filter eliminates reflections from glass surfaces at approximately 35 degrees (Brewster's angle). It is useful when photographing glass display cases, foil-wrapped packaging, and products behind glass. It does not work on metallic reflections. Be aware that it costs you about 1-2 stops of light, so increase your exposure accordingly.
Post-production tips for glass images
Even with a perfect lighting setup, glass images almost always need some retouching. Here is what to focus on:
- Clone out remaining reflections - small reflections of equipment or the studio environment that slipped past your black cards
- Dodge and burn edges - selectively brighten or darken the rim light lines to make them perfectly even. Real-world rim light is rarely symmetrical
- Clean up dust spots - even with careful preparation, a few specks will appear at high magnification
- Adjust liquid colour - HSL sliders let you fine-tune the amber of whisky or the ruby of wine. Backlit liquids can shift slightly in hue
- Sharpen selectively - apply sharpening to the label and cap but avoid sharpening the glass body, which should remain smooth and clean
- Composite multiple exposures - for complex bottles with both a label and a transparent body, shoot two frames: one exposed for the label, one for the glass. Merge them in Photoshop for the best of both
AI-powered retouching tools have improved significantly in 2025-2026, but for glass product photography, manual control still delivers the best results. Automated tools tend to over-smooth the subtle gradations that make glass look real. For advanced compositing workflows, Adobe Photoshop remains the industry standard thanks to its layer masking and blend mode capabilities.
DIY glass photography setup on a budget
You do not need expensive studio strobes to photograph glass products. Here is a minimal setup that delivers surprisingly good results:
- A2 tracing paper (under $1 / GBP 1) - your diffuser, placed behind the product
- LED desk lamp (you likely already own one) - positioned behind the tracing paper
- A2 black card x2 (under $1 each) - on either side of the product, camera-side, for dark-field edge control
- A3 white card (under $1) - a small reflector to fill the label
- Glass or acrylic sheet ($10-20 / GBP 8-15) - as a base to create a reflection underneath the product
- Cotton gloves ($2 / GBP 1.50) - non-negotiable
Total cost: roughly $15-25 / GBP 12-20. With this setup you can photograph bottles and perfumes at a quality level sufficient for an online shop. The key is technique, not expensive equipment.
If you want to level up from the DIY setup, the single best investment is a pair of strip softboxes (around $80-120 for a decent set with stands). They unlock rim lighting and give you far more control over edge definition.
Photographing glassware for e-commerce - specific requirements
E-commerce platforms like Amazon, Etsy, and Shopify have specific image requirements. When photographing glassware for online retail, keep these guidelines in mind:
- Pure white background (RGB 255,255,255) - most marketplaces require it. Use backlight and adjust exposure so the background clips to pure white in post
- Product fills 85%+ of the frame - standard Amazon requirement. Shoot slightly wider and crop in post for precise framing
- Multiple angles - front, 3/4, back (label detail), top-down for cap design, and a detail shot of the texture or liquid
- Consistent lighting across all SKUs - if you are shooting a range of glass products, maintain identical lighting ratios so the product page looks cohesive
- Minimum 2000px on the longest side - for zoom functionality on most platforms
Need help with a full product range? Check our product photography pricing - for every 5 packshots you get 1 free on your next order.
FAQ - photographing glassware
How do you photograph glass on a white background?
Light the background from behind (backlight) and place black cards on either side of the product on the camera side. The dark strips on the glass edges define the shape against the white background. Never light glass frontally on a white background - the product will disappear.
How do you remove reflections from glass surfaces?
Use diffused light (softbox, diffuser panel), shoot from a greater distance with a telephoto lens, wear black clothing, and cut a hole in a black card for your lens. A circular polarising filter eliminates reflections at 35 degrees (Brewster's angle). For remaining reflections, use the clone stamp in Photoshop.
What is the best lighting for photographing glass bottles?
Backlight (softbox behind the bottle) combined with rim light (two strip softboxes on the sides). This is the baseline setup for 90% of glass bottle photography. Clear liquids need strong backlighting. Dark liquids (wine, whisky) need even stronger backlighting to reveal their colour.
Do I need special equipment for glass photography?
No. Tracing paper (as a diffuser), black cards, a desk lamp, and cotton gloves are enough to get started. A complete DIY setup costs under $25. The technique - how you position the light - matters far more than expensive gear.
Can I photograph glassware with a smartphone?
Yes, if you control the lighting correctly. The same principles apply: backlight, diffusion, black cards for edge definition. The main limitation is that smartphones have wide-angle lenses, which means you need to be close to the product - and that increases the risk of your reflection appearing in the glass. Use a phone holder and step back as far as possible while maintaining framing.
Summary
Photographing glassware requires reverse thinking - instead of lighting the product, you light the background and edges. Here are the key principles:
- Backlight - the foundational technique for glass, illuminating the interior and any liquid
- Rim light - defines the edges on dark backgrounds, creating a premium look
- Diffusion - always use diffused light, never direct. The larger the diffuser, the cleaner the glass
- Cotton gloves - every fingerprint shows on glass at high resolution
- Black cards - control edge definition on white backgrounds with the dark-field technique
- Shoot tethered - review images at 100% on a large screen to catch issues early
If you need professional photographs of glass products, explore our packshot services and pricing.
Need professional images of bottles, perfumes, or glass packaging? Get in touch with marszalstudio - we specialise in photographing challenging materials including glass, metal, and transparent products.